Monday, October 31, 2011

I Made a Hole in the Wall

Let me clarify; I didn't make a hole in the wall. I paid someone to do it for me. After years of talking about it and hemming and hawing over it I finally bit the bullet and tore part of the wall down in between my living room and kitchen. Part of my hesitation was trying to match the granite. Or wondering if I even should. I didn't. I can't wait to show you what we DID do.

Because I was super excited and wasn't thinking clearly, and because it was a relatively plain wall in the first place, I have no before shots. So we'll pretend this is an awesome rendering of what the space used to look like. I think it's pretty true to life.


This is an old house and the floor plan had the kitchen separated so much from the living area. Because of the renovations we did when we first moved in, there was no where to sit in there, so it tended to be uncomfortable communicating with the person doing the cooking (Eric). Enough talking. Here's the after:


I'll take some pics with a different lens so you can get a better overview idea at some point. But it's WAY more open, no? And there's a place to sit to converse with the person in the kitchen (Eric)! And there's a new place for us to collect crap!


For the counter we ended up going with reclaimed wood. I LOVE it. It has so much character.


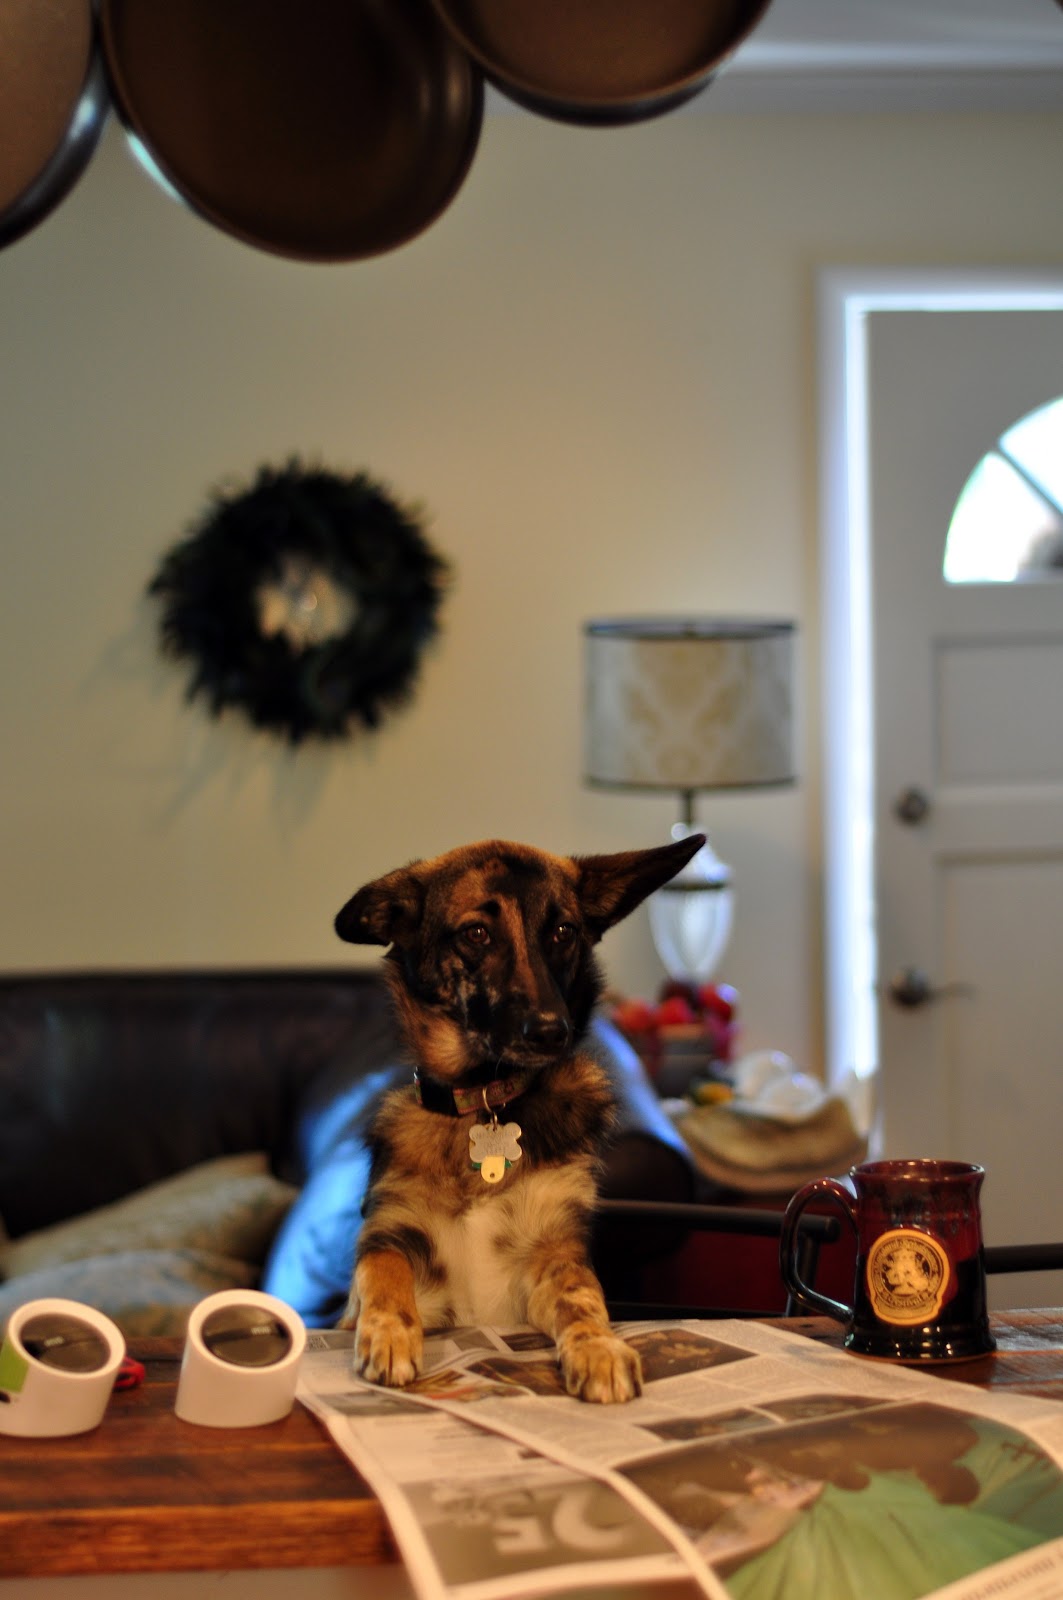
Nezzie liked to hang out up there as a puppy.


Now she likes to hang out up there to read the paper and drink her coffee in the morning.


So, what do you think? Have you ever wanted to tear down a wall? I highly recommend it, even if you pay someone to do it for you.

Sunday, October 30, 2011

Halloween Hearth and a Tacky Gold Wreath


I've been delaying sharing my Halloween/Fall mantle (I know it's not a hearth, but I couldn't pass on the alliteration) with you because I've been dying to make this wreath I found on Pinterest and I wanted to make it part of the decor. Oh my god I'm in love with it.

First the overall look has changed since last year:


I found the large vase on the left for $20 at TJ Maxx a few months ago and have been waiting and waiting for fall to come around so I could use it. I got the cheapest 2 yards of sheer white fabric I could find and threw some battery operated lights in there. The crow on top is the icing on the cake for me. Next we have a fake pumpkin, some more crows, gourds, fall looking candles and an owl that you can't really see. The "vases" on the end are carved out fake pumpkins from Michael's. After Halloween the crows will probably be replaced with turkeys. I found some books with fall color bindings to elevate the end pumpkin. I needed some height and bulk to counteract the towering vase on the other side. But my favorite part, the piece de resistance (or something like that), is the wreath. Oh how I love the wreath.

I found it on pinterest and fell in love. The original creator used a 6" wreath. I thought I'd go big or go home. Almost 1,600 gold tacks later here you have it:


I found these tacks on Amazon and ordered 8 boxes thinking I'd have plenty left over. I did not have plenty left over. I grabbed a can of gold spray paint and a 12" foam wreath and went at it. If you want to tackle this DEFINITELY spray paint. It's almost impossible to cover all of the foam and you don't want moss green poking through. I wish I had done more coats.

When I had a gold wreath form I started pinning. And pinning. And pinning. I started out trying to be neat, then just went for where I thought a tack should go. I often had to reposition tacks. If you need to do that, or if you are in a spot where the tack won't be layered under part of another, use hot glue. And then keep pinning. Four numb fingers later I had this beauty and I couldn't be happier with it. I think I can transition it into Christmas as well.

And there you have it, folks. Almost the entirety of my fall decorations.

Monday, October 17, 2011

My (Late) Summer Yarn Wreath

I've seen these yarn wreaths all over Pinterest and Etsy. I've always wanted to get one, but never felt like spending the money (totally out of character, I know). So longer ago than I'd like to admit, I finally made myself one. I don't have in process photos or a tutorial, but it's super simple.


Materials
  • Foam or straw wreath form
  • Yarn in the colors of your choice
  • Ribbon for hanging
  • Pins
  • Felt and ribbons for flowers
  • Other adornments of your choice
Instructions
  1. I used a foam wreath, some will tell you to wrap a straw wreath in burlap if you used straw.
  2. I just tied my first piece of yarn tightly around the form and glued the knot down in the back with hot glue.
  3. Wrap. A lot. Then wrap some more. I'd wrap the yarn around a few times then tighten. If/when you change colors just tie the two pieces of yarn together, but make sure the knot will be in the back when pulled tightly. Make sure your next wraps are over the loose ends.
  4. When you get to the end, tie your loose end to the loose end you had left over when you started, trim close to the knot. Use a tiny bit of glue to hold it down and you're good to go!
  5. Adorn!


Notes
  • I didn't plan the spacing out in advance. Next time I would make sure I had a plan for color changes and mark it on the wreath form.
  • There are tons of felt and ribbon flower tutorials out there. I found a bunch of different ones I liked that didn't involve a ton of work and sewing. My favorite is the ribbon (purple), but it was also the most complicated.
  • I pinned the flowers to the wreath rater than hot gluing. I did this so I could reuse them elsewhere and in some cases for decoration, but it had the unintended benefit of not melting. Some pieces melted with the hot August sun beating on the wreath through a glass storm door.
  • I found a branch outside after a storm for the birds to perch and shoved it into the foam, then hot glued it for extra support

Wednesday, September 28, 2011

Projects Galore!

Is Pinterest an angel or devil? It's like one of those stores that you love because it has so much great stuff, but you kind of hate it because it makes you want to spend all of your money. Pinterest has so many great ideas that I just want to do them all at once. And that involves supplies. Or ingredients.

So I've given into the demons of Pinterest and done some pinterest inspired projects. AND I'm actually going to post some of them and some other stuff that's been happening around here.


Find me on Pinterest and leave a comment if you need an invite!

Friday, June 3, 2011

Scenes from a Box

Or an Advertisement for Rogue.

I've been lugging around the new camera a lot lately to try it out in different types of settings.  Seeing as how I spend a lot of time at the gym, I thought I'd see what it could do there.


Wednesday, June 1, 2011

My Garden Two Weeks Ago.


We've established the fact that I'm a slacker, right?  Well I took these pictures of my garden a few weeks ago.  Wow how things have changed.  I would take pictures of it now, but then I probably wouldn't download the pictures to my computer so I could upload them here for a few weeks.  Because I'm a slacker.

Here's the main garden.

Tomato rows. 
Types of tomatoes include:  Black Seaman, Black Gypsy, Black Krim, Black Cherry, Hungarian Pink, Green Zebra, Black Brandywine, Cherokee Purple, Old German and others.

Square foot garden with tomatoes in front and melon in the back.
Tomatoes include Yellow Pear, Ananas Noir, Black Gypsy, Black Seaman (tee hee), Persimmon, Green Zebra.
Melons are from seeds of melon we got at the farmers market last year, including:  Yellow Watermelon, French Orange, White Sensation and Yellow Canary.

 
Patio Tomato (Glacier and Mr. Stripey)

 
The back of my deck displaying my herb garden.


The strawberries I planted and forgot about last year are THRIVING.  The berries are a little tart.

Purple Sicily Cauliflower

Red Kale

Snow Peas

Squash, Strawberries and Cucumbers
Sugar Pumpkin, Yellow Squash, Black Beauty Zucchini, Butternut Squash, Spaghetti Squash, Cucumber, Lemon Cucumber.

Squash Blossom
 
Some of the first salad from the garden.

Thursday, May 5, 2011

Inspiration

Or maybe lack thereof.  I have been totally uninspired to blog lately.  I was sick of just posting recipes, especially since I'm a total amateur.  But it felt for a while like that's the only real creative stuff I did.  My life is kind of routine, so I don't always feel like I have anything interesting to share.  I will try to do better.  Part of what will help me may be my new camera!

I was in New York last weekend to run a 5k with my sister.  The 5k turned my knee into a blob of molten lava, but other than that it was pretty fun.  One of the things I really wanted to do while I was there was take a trip to one of the legendarily awesome camera stores in the big apple.  I was originally thinking B&H, partly because I had a gift certificate, partly because it's more well known.  After very little convincing, my friend Shawn convinced me that we should really go to Adorama for their much more personal service and large used stock instead.  I'm so glad we did.  And I'm so glad I forced brought Shawn with me.  I ended up with a gently used Nikon D90 which arrived yesterday.  I'm so excited!!!!

Here are some of the test shots I've taken with my "Nifty Fifty" (50mm f/1.8) lens.  These are straight off the camera, completely unaltered.


LinkWithin

Related Posts with Thumbnails