Friday, December 31, 2010

I Resolve!

I'm not normally big on New Years resolutions.  So this year I'm going to try a blogolution.  I think I just made up a word.

I resolve to:

  • Post more often.
  • Post on a greater variety of subjects
  • Take inspiration from Widow Maker (AKA Kathy) and post my WODs (but maybe not the results)
  • Try to improve on my picture quality.  This is a hard one because when it's food related, I'm usually taking pictures at night.  My kitchen doesn't have the best lighting for pictures.  I don't have a full length mirror for pictures of outfits.  Eric makes fun of me when I ask him to take pictures.  Natural lighting - a photog's best friend - is not always available.  Those excuses aside, I resolve to try to improve my picture quality.
  • Share more information from other bloggers.
  • Ask for more feedback.  So give me more feedback.
There you have it.  Those resolutions may lead to many posts sans pictures, especially WOD posts.  I'll being seeing you soon.  Happy New Year!

Thursday, December 30, 2010

Pumpkin Chicken Enchiladas

Don't be put off by the name!   I know doesn't sound amazing, but I swear they're delicious.  I wouldn't even tell Eric what it was until he tried it (although, he did guess).  It's one of his favorite things I've made so far.  Mine too.


I found this recipe (an adaptation of a Martha Stewart recipe) this fall while I was trolling the web for savory pumpkin recipes.  It took me a while to get to it, but I'm glad I did.  I made a few changes due to missing ingredients and because I don't like things too spicy.  So here's my adaptation of Gluten Free Mommy's adaptation of Martha Stewart's recipe:


Pumpkin Chicken Enchiladas


Ingredients


8 Corn Tortillas (Go with corn, the flavor works)
2 Tbs Cilantro
2 Chicken Breasts (poached and shredded)
White Sharp Cheddar Cheese, shredded

1 15 oz can Pumpkin Puree
3-4 cloves Garlic, peeled
1 tsp Chile Powder
1/2 tsp Cumin
2 tsp Salt
1/4 tsp Pepper
1 1/2 Cups Chicken Stock

Directions
Oven temp:  425
1.  Poach your chicken.  Tutorials can be found all over the place, but the basic process is put enough water to cover your chicken in a pot, boil it.  Reduce to a simmer, place chicken in a pot and cook till done - no longer pink.  Shred poached chicken with two forks.


2.  In a blender or food processor, puree pumpkin, chicken stock, garlic, chili powder, cumin, salt, and pepper.


3.  Place 1 cup of this sauce in the bottom of an 8 inch glass casserole dish.

4.  In a bowl, combine shredded chicken with cilantro, and some cheese.  Season with salt and pepper.

5.  Place some of the chicken mixture on each tortilla and then lay the tortilla seam side down in the casserole dish.  The tortillas will probably split when you fold them.  Just handle them carefully and try to keep the filling in.  Make sure to put them seam down and follow the directions.  As long as they don't split all the way through they should be fine by the time they're topped and cooked.

6.  Pour the remaining sauce over the enchiladas. Top with cheese.

7.  Bake for 20-25 minutes at 425  until cheese is melted and casserole is bubbly.

8.  Enjoy!


Monday, December 20, 2010

Christmas Decorating - The Rest

So now we've seen the outside of the house and the tree.  Here's the rest!


As I mentioned, the majority of the decorations take place around the fireplace, but let me take a second to show you the cute little feather tree I found.  Next year it will probably get some ornaments.


The penguin to the left was a gift from Mike when I got my first job with IBM that had a small amount to do with Linux.  I made the basket on the left last year.


I saw the basket at Stonewall kitchen and had bought the red thingies and pine cones thinking I could find something to do with them.  I did.

Before I get to the mantle I'll show you the one other thing I did to spread the Christmas spirit around the house.  I put extra wreaths on interior doors.  Just because I made myself a new one doesn't mean the old ones can't be enjoyed!

I got this one at Whole Foods last year.

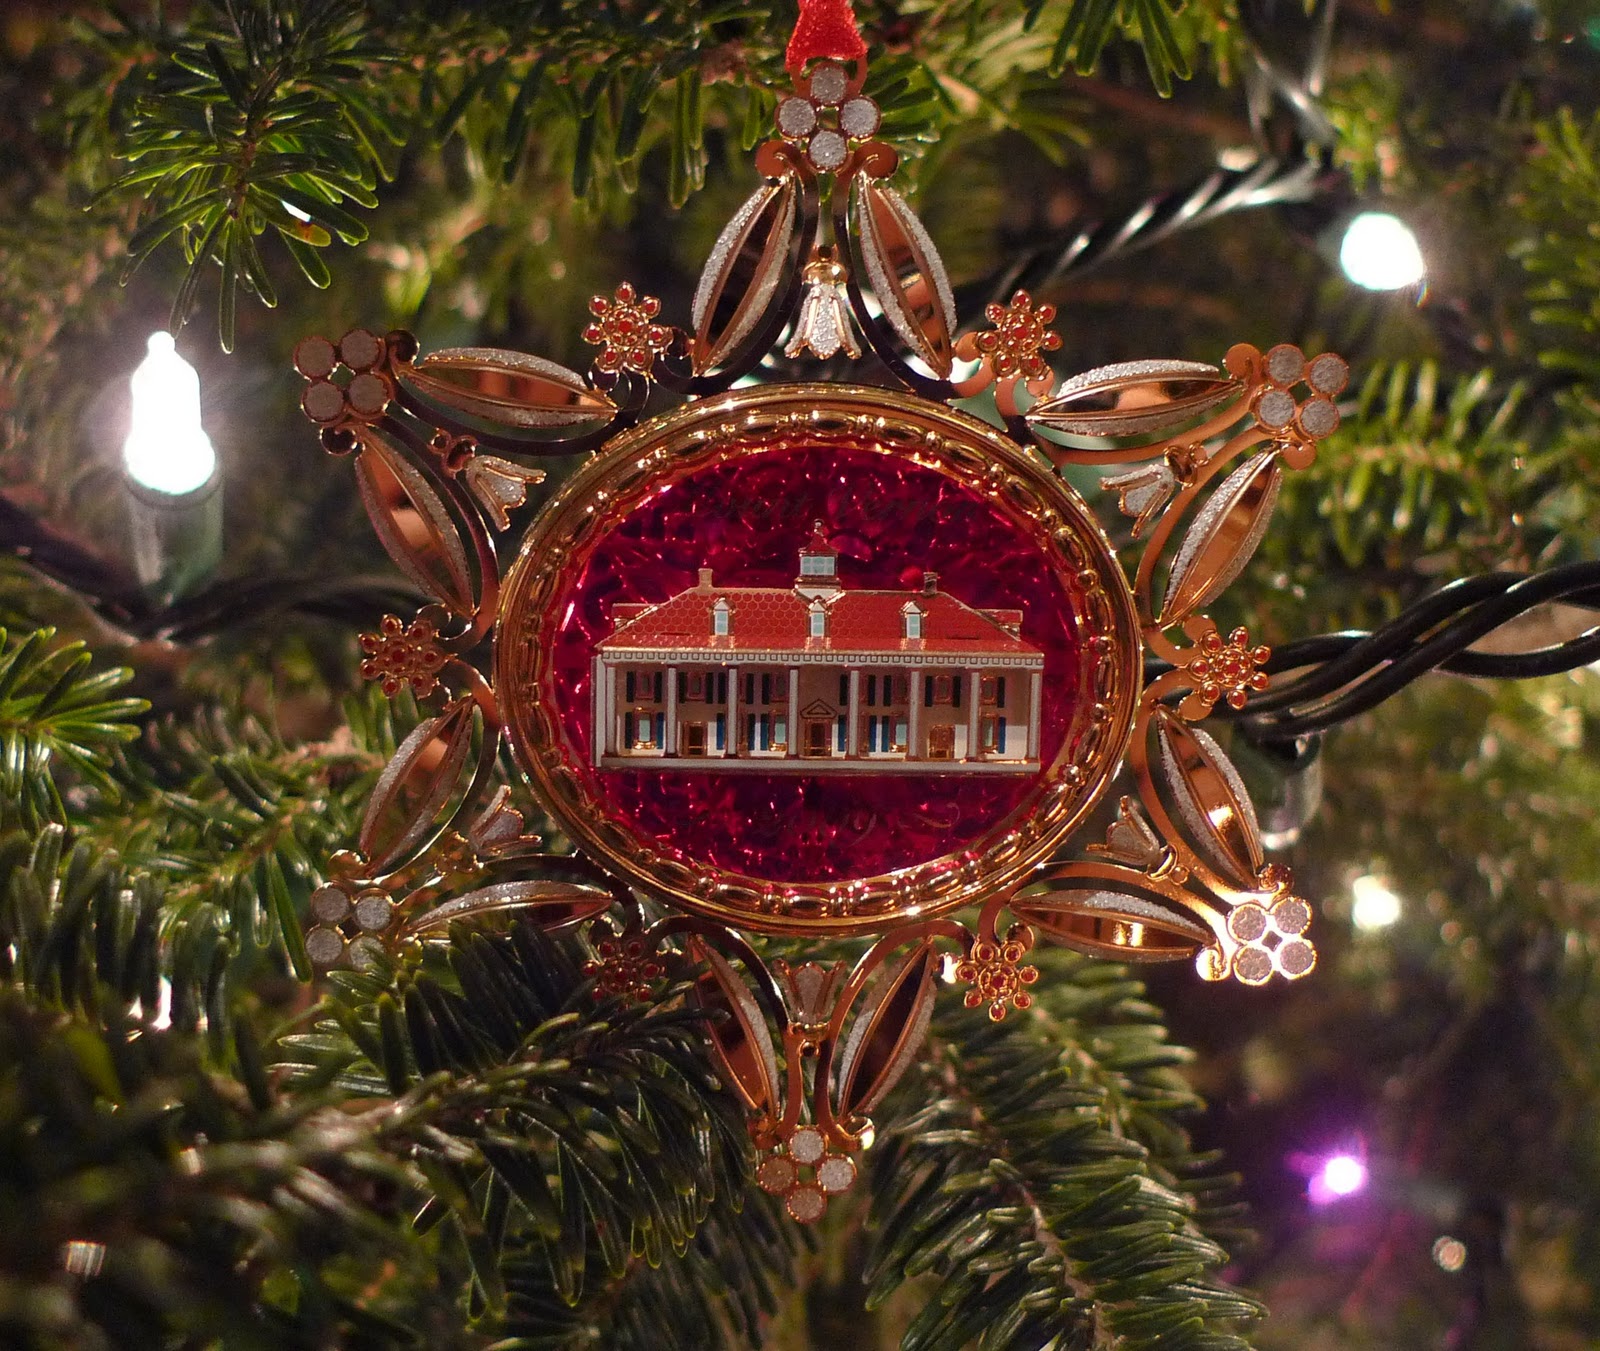
OK, onto the main event.  The mantle.  As a reminder, here's where the bulk of decorations are.  Here's what the mantle looks like in all it's glory.


Swag?  Garland?  Whatever you call it I love for it to drape the mantle.  I snagged these lovely garlands after Christmas last year at Holly, Woods and Vines.  I layered a garland of sparkly red, green and gold balls with an evergreen one adorned with bells, berries and sticks.


One of my favorite Christmas decorations are these peacock feather trees.  God I love peacock feathers.


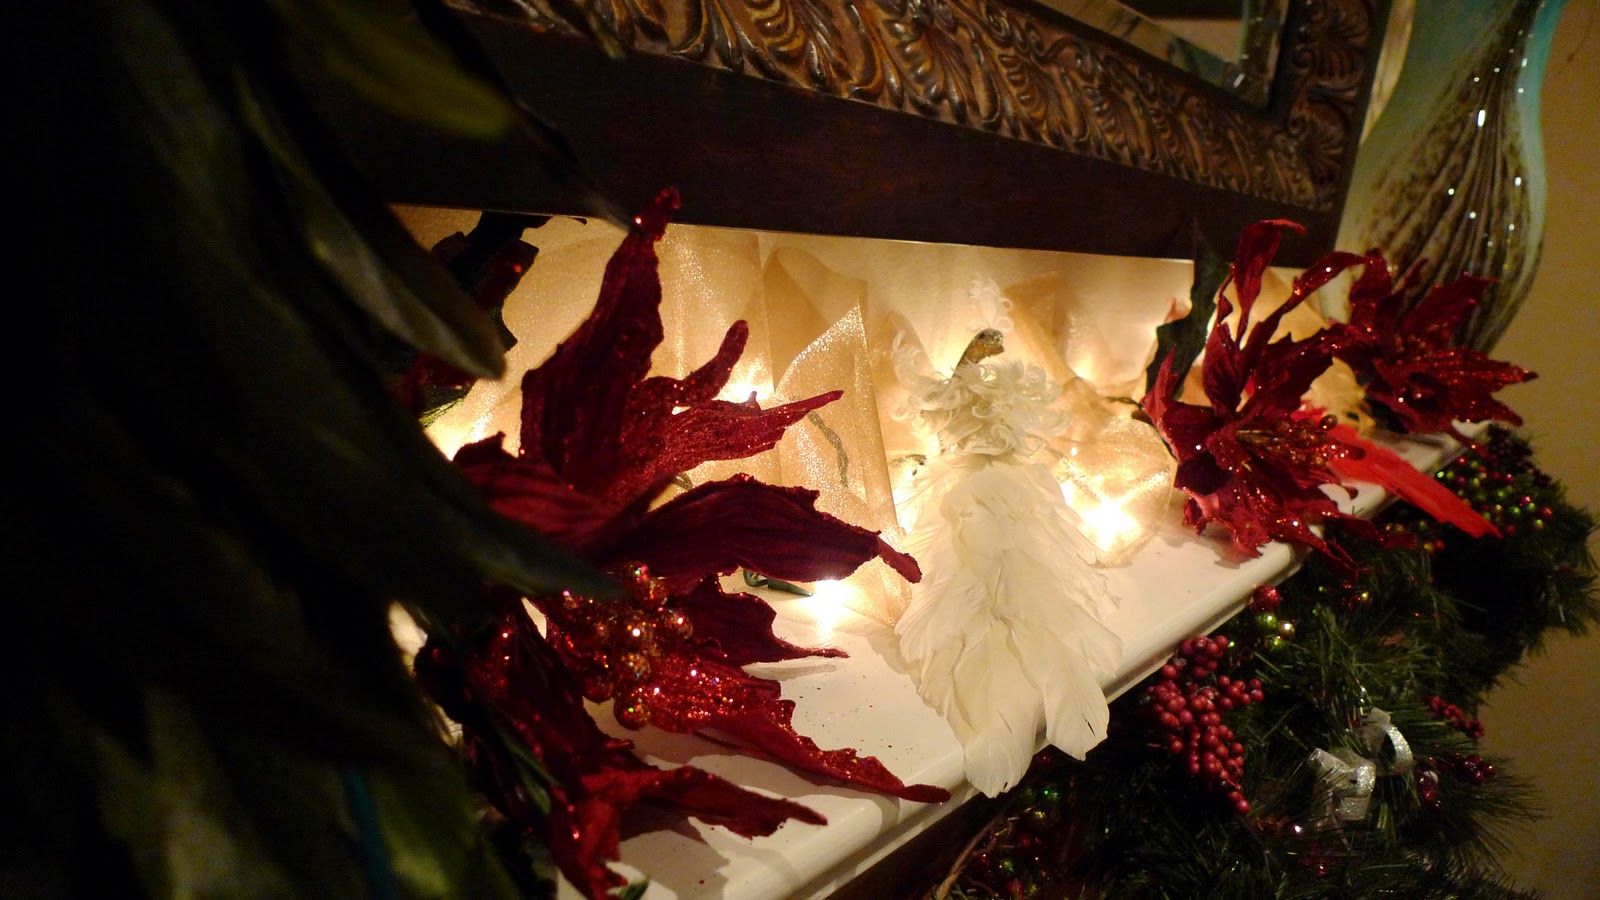
I thought the mantle needed some more light.  Eric vetoed putting it in the garland (maybe I'll sneak it in next year), so I put a short strand of lights across the mantle and draped gold tulle ribbon over it.  I set it off with some sparkly poinsettias and birds.


I call this my Scarlett O'Hara bird because it reminds me of the dress Scarlett wore to Mellie's birthday party.

I'm not sure if I mentioned my love of peacock feathers.  I got a wreath of them for Christmas 3 years ago.  I haven't taken it down.  It lives on my wall.  I also keep a vase on the right side of the mantle for most of the year.  I often buy extra sparkle to add to it for Christmas.  Then I leave that in all year round too...


Because I thought the mantle looked just fine as it was, I decided not to hang stockings by it with care.  I hung them in a large picture window in the front of the house. 


Well, there you have it, a wrap up of this year's holiday decorating.   I hope you enjoyed it.  Let me know if you have any tips for next year!

Christmas Decorating - Outside

One redeeming part of winter is that I get to decorate for Christmas.  At the end of the season I like to buy a bunch of closeout Christmas decorations.  Then I get surprised the next year when I'm looking at what I have to work with.  It keeps things from getting stale.

My house is situated a little oddly.  Sure the front faces the road, but it basically sits in a church parking lot and the part that you really see when you're coming to it is the garage and the sides of the front and back yard (both of which have a little bit of fencing).  The garage has a little arbor over it on which I'm trying to train some jasmine to grow.  The front yard has a pretty dogwood tree that overhangs the driveway.  So here's what we did:


The top fence posts got wrapped in Warm Light LED large Crystal lights.  The dogwood has a year round display of lights and we added some ornaments for the holidays.  The garage arbor got lit up with the same LED lights as well as some normal mini lights.  And a bush got a net of lights as well.  Each fence post is adorned in a red bow.


This year I got all crafty and made a wreath for the front door.  I don't know if you know this about me, but apparently I gravitate towards sparkles.  I also have a thing for birds.  I got myself a grape vine wreath and some pretty sparkly things, took my glue gun and wire cutters out and winged it (wung it?  Whatever, I made it happen!).


Since people often go around to the back door rather than coming to the front, I decided the back doors needed some cheer as well.  There is no storm door so whatever I put up had to be able to handle the elements.  When I was doing some last minute shopping the day before Thanksgiving I found these babies at Safeway.


Next time I'll talk about what happened inside.  Mostly I'll just show pictures of some of my favorite ornaments and tricks.

Christmas Decorating - The Tree

So do you like what I did outside?  I know I could do more, but work with me here.  Do you know how expensive some of this stuff is?


So now it's time to move on inside.  I haven't yet gotten the knack of spreading the Christmas cheer around the house.  It's mostly centered around the fireplace.


Evey year I flip flop on whether to get a fake tree and every year I decide to go real.  There's something wonderful about the tradition of going to pick one out (even if it's just to Home Depot), putting it up, arguing about if it's straight, trying to figure out what the best side is, all that.  And the smell, of course, the smell.  One of the problems with real trees though is the gaps.  Sometimes there are gaps where you can't hang ornaments because the branches are too weak or in the wrong configuration.  I solve that problem by sticking a large sparkly flower in the gap.


We usually go just with white lights on the tree.  And if Eric had his way that's what we'd have done this year. Luckily Eric was busy doing something else while I strung the lights and I snuck a strand of colored lights in with the white.  I like how it turned out.


Growing up we always used that silver garland.  I loved it, but I've never put it on a tree of mine since I've been out of the house.  I started with replacing garland with a silver kind of sparkly ribbon.  Last year I tried beads and went with that this year too.  Maybe next year I'll do both!


I know a lot of people like to go with the pretty, color coordinated tree.  I have never been able to do that.  I have too many mismatched ornaments that I love too much.  Here are some of my favorites.


L2R:  A beautiful ornament my sister got me from Harrods, an early predictor of my unicorn love, a reminder of where Eric and I got married

 We moved very close to Mount Vernon (We live on what was good ol' George's property) in 2008, so we have the 2008 commemorative ornament.

I love to get an ornament from just about every place I go.  Here is one from London with San Francisco below.  Sadly a lot of really cool places have really crappy ornaments.

 Just a plain old Hallmark ornament I got from my mom in high school, but I love it.

 I always try to put this one in front of a light so it looks like the fireplace is working.  I got this one in Dublin

 My dad made this one for me when I was a little girl.

I don't ride western and it's not sparkly, but I love this one.

A cherished favorite.  Believe it or not it's hard to find ornaments in Thailand so when I saw this at the Renaissance Festival the year Eric and I went on our honeymoon in Thailand when I hung out with an elephant named Nina on a daily basis, I had to get it as my remembrance for that unforgettable trip. 

Monday, December 13, 2010

Breakfast for Dinner

The other week it was my turn to make dinner but I didn't have anything planned, I didn't have anything defrosted and I didn't feel like going to the store.  What I did have was a lot of free range organic eggs thanks to some friends with chicken connections.  I also had really good bacon because Eric is obsessed with really good bacon.  So I decided it was breakfast for dinner night and made what could be described as a breakfast muffin?  Breakfast-to-go?  Breakfast-in-hand?  I'm still working on the name I guess.


Breakfast for Dinner Whose Name is Undetermined


Ingredients


Thin Sliced Bread
Bacon
Eggs
Green Onions, diced
Cheddar Cheese
Salt


Of course you can add or take away whatever you want, make vegetarian and take out the bacon, add veggies, make it as you please!


Directions
1.  Spray muffin pan.


2.  Fry bacon for about 5 minutes until it is about 2/3 of the way done.  You don't want it all the way done.


3.  Roll bread to between 1/8 and 1/4 inch thickness.


4.  Use a round cookie cutter if you have one or a glass or mug if you don't to cut circles of bread that are a little larger than the bottom of the muffin mold.


5.  Place bread rounds in the bottom of the muffin mold.


6.  Put bacon around the edges of the muffin mold.


7.  Sprinkle cheese and green onions on top of bread.


8.  Crack an egg into each mold with bread.  Sprinkle with more cheese (because it's delicious) and green onions.  Depending on the saltiness of your bacon sprinkle with salt as well. 


9.  Bake for about 12 minutes until Yolk is at your desired state of "doneness."  Heads up, the yolk never looks done.

LinkWithin

Related Posts with Thumbnails